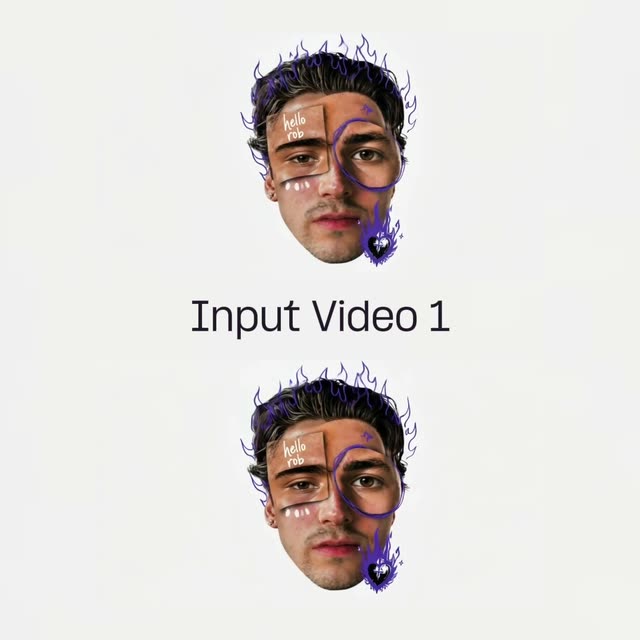
This ComfyUI workflow creates a seamless, learned transition between two input clips using an LTX 2.3 FLW LoRA. You feed one video into each LoadVideo node, and a dedicated transition node (UUID: 63482e7d-23c9-4396-a7a2-cd4ca2316eac) synthesizes a smooth handoff from the end of the first shot to the start of the second. The SaveVideo node then assembles the processed frames into a single output clip. A built-in MarkdownNote provides an at-a-glance guide to recommended settings and practical tips.
Technically, the workflow performs diffusion-based video-to-video generation guided by the LTX 2.3 FLW LoRA to harmonize color, texture, and motion across the cut. For temporal consistency, inference runs over the full frame range (not just the transition window). That design keeps the look stable across the entire sequence but also means longer clips and higher resolutions will increase runtime and VRAM use. You’ll typically set the in/out ranges for each source clip, define a transition length, and adjust the LoRA influence/strength and seed in the transition node. SaveVideo controls the output frame rate and file name for export.
API
Use this workflow from code
Every Comfy workflow is a JSON graph. The payload below is this workflow, exactly as ComfyUI runs it — fetch it from the URL, keep it in version control, or load it in ComfyUI and run it node by node.
Run it from TypeScript or Python with the Comfy SDK. The same code targets Comfy Cloud or a ComfyUI you host yourself — only the base URL changes.
// Install (beta)
npm i @comfyorg/sdk

// Run this workflow (TypeScript)
import { Comfy } from "@comfyorg/sdk";

const client = new Comfy({ apiKey: "comfyui-..." });
const wf = await client.workflows.fromFile("workflow_api.json");
const job = await client.run(wf);
await job.getOutputs("<output-node-id>")[0].toFile("output.png");
The SDK takes a workflow in API format: open this workflow in ComfyUI and use File → Export Workflow (API).
Comfy Cloud API access requires a plan with an API key.
FAQ